
|
|
|
|
||||||||||
| Xoutpost server transfer and maintenance is occurring.... |
| Xoutpost is currently undergoing a planned server migration.... stay tuned for new developments.... sincerely, the management |
|
|
LinkBack | Thread Tools | Display Modes |
|
#1
 01-09-2006, 11:05 AM
|
||||
|
||||
|
Installing AC Schnitzer aluminum pedals on X5
Inspect all your parts for complete hardware and defects. I bought mine from ebay, and everything was in new packaging. The pedals are 2 piece assemblies: rubber backing with a brushed aluminum overlay. You'll need: Long #2 Philips screwdriver Long #2 Flat screwdriver Stubby #2 Philips screwdriver Drill and metal bits, cause you'll be drilling through the brake pedal Metal File (optional) Small socket set or small wrench set Small hex or allen wrench set 40 mins of your valuable time Start with the dead/rest pedal. This screws on top with 4 screws, you do not have to remove your plastic dead pedal, however, it pops out easily by gently wedging a flat screwdriver between the mounting bracket and the plastic pedal. It is held in place by plastic tabs. You'll marvel at the amount of dirt and sand behind the plastic pedal, take a moment and clean it out, for peace of mind. The Schnitzer aluminum pedal is not as long as the stock plastic pedal, therefore, I laid mine over the plastic pedal, and using the 4 screws supplied, hand-screwed them into the plastic pedal, aligning the bottom edge. The fit is perfect from side to side, and the screws hold it real tight. I would avoid over tightening. Here's how it looks on:  The stock brake pedal cover is a one piece rubber boot. Put your hand over the top right side of it, and it slips right off. The metal brake pedal is now revealed. You'll need to drill 4 holes in this pedal to install the Schnitzer pedal with the supplied screws, washers and nuts. I found a 1/8" bit to work fine as a match for the screws. Line up your Schnitzer pedal over the brake pedal, and use either an awl or a grease pencil to mark holes for drilling. Because it is a black pedal, a light colored grease pencil is best. Be sure to feel around to ensure the Schnitzer pedal is seated well over the brake pedal when you mark your holes. Drill your holes, file if you have any protruding metal and insert the top 2 screws, using the supplied washer and nuts to hand tighten each one to hold it in place. Repeat with the lower 2 screws, then using a small wrench or socket to hold the nuts firm on the back of the pedal, use a small hex wrench to tighten the screws from the front. It oughta look like this: 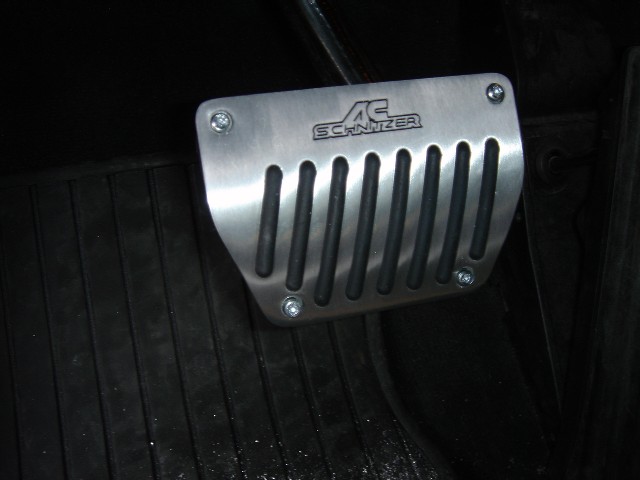 Now we're on to the accelerator pedal, which is another stock plastic pedal. Lay your Schnitzer pedal over the accelerator, lining up the bottom edge carefully and the top edge in line, and mark holes for drilling. The screws here are the same size as before, but the drilling will be easier because of the plastic. CAREFULLY drill your holes. Action shot: 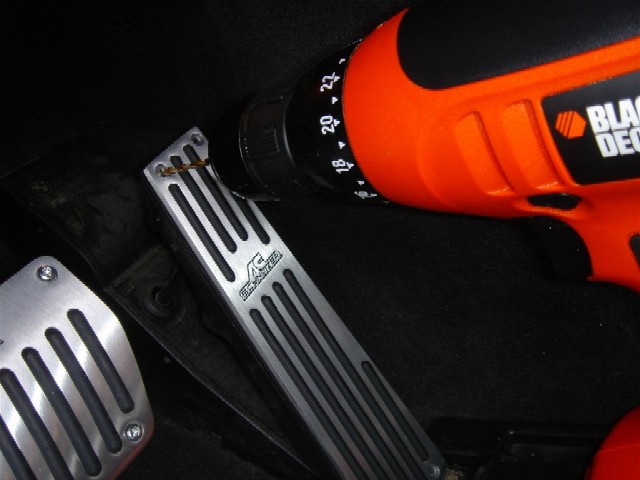 Tighten the bottom screws and nuts by hand, and repeat the process with the top screws and nuts, then using the socket/wrench and hex wrench, tighten all screws down snug. Say hello to your new sporty pedals, my friend! 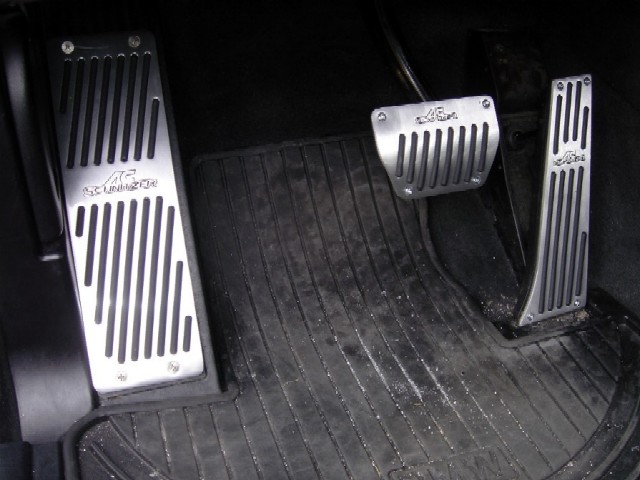
|
| Sponsored Links | |
|
|
|
| Bookmarks |
|
|
|
|


 Linear Mode


