Remove the AC belt
| |
|
|
|
|
| Step 13: | Remove the Fan Pulley |
| |
Use a 10mm socket or box wrench to remove the 4 bolts holding the pulley onto the water pump.
Use a small flat blade screw driver to hold the pulley still as you break loose each of the bolts
Remove the pulley
|
| |
|
|
|
|
| Step 14: | Remove Upper Radiator Hose |
| |
Use a small flat screw driver to pop up the 4 retaining clips on the 4-way upper radiator hose.
Disconnect the large hose to the top of the radiator.
Disconnect the hose to the alternator.
Disconnect the hose to the water pump.
Unclip the long small hose from the holder on the water pump and disconnect it from the lower radiator valve.
Use a 5mm hex socket or allen wrench to remove the hose holder clip on the water pump.
Remove the 4-way upper radiator hose.
|
| |
|
|
|
|
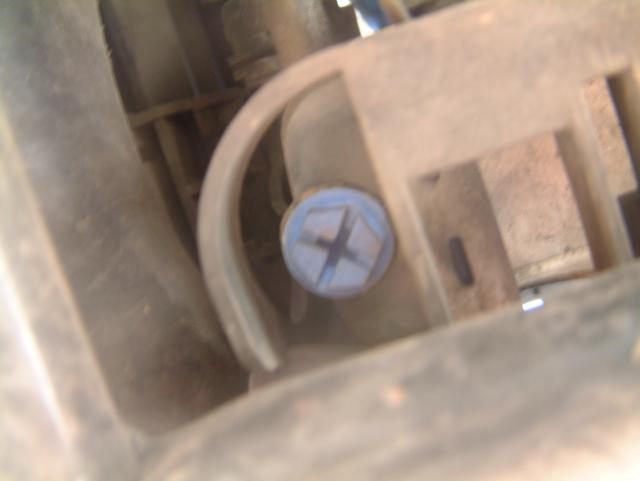
| Step 15: | Disconnect Lower Radiator Hoses |
| |
Use a small flat screw driver to pop the retainig clip up on the hose end that connects to the thermostat.
This was very difficult to remove for me. You may have some luck with gentla taps using a screw driver and a mallet to persuade it off the thermostat.
It eventually just came off by wiggling it back and forth where the guide pins were.
If you are replacing this hose, just disconnect from the other end and remove it as well.
|
| |
|
|
|
|
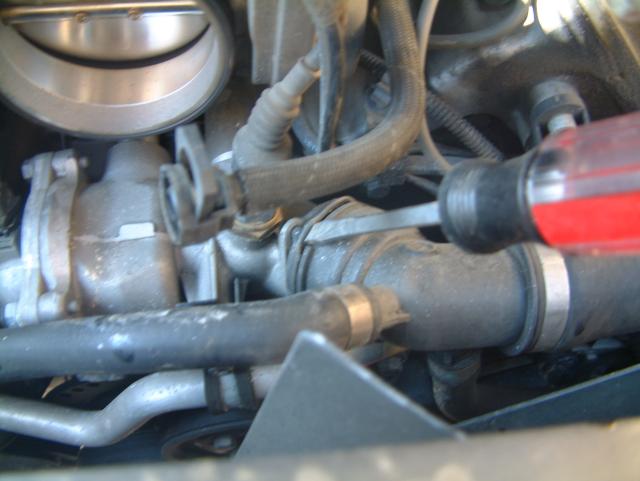
| Step 16: | Disconnect the smaller cooling hose from the bottom of the water pump to the lower radiator valve |
| |
Use a small flat screw driver to pop up the retaining clip on the hose end to the water pump.
Pull off the hose and slide it back in its retaining clip to keep it out of the way.
If you are replacing it, just disconnect from the other end and remove it as well.
|
| |
|
|
|
|
| Step 17: | Remove Harmonic Balancer/Main Crank Pulley |
| |
Use the T45 Torx socket to remove the 8 bolts holding the harmonic balancer/main crank pulley on the crank shaft.
It's difficult to see so you will have to feel your way for the bolts.
This pulley is very heavy so be careful not to drop it or damage the fins on your radiator when it comes off.
|
| |
|
|
|
|
| Step 18: | Unbolt Water Pump and Remove Thermostat |
| |
Press in the retaining clip on the thermostat wiring connecto and disconnect it from the thermostat.
Use a 22mm wrench to remove the water tempurator sensor from the top of the water pump.
Tuck both the thermostat wiring connector and the water tempurature sensor out of the way.
Use a 10mm socket and a short extension to remove the 6 bolts holding the water pump on the engine block.
There are 2 very long bolts and 4 short ones. The long ones go in a specific place that will be obvious and I'll remind you later.
Pull the assembled water pump and thermostat off the engine block. Some more coolant may spill out here so have a catch pan underneat and ready.
Be carefull not to dislodge the 2 metal water pipes running to the rear water manifold from it. You just want to disconnect them from the water pump by wiggling it back and forth.
use a 10mm socket and extension to remove the 4 bolts holding the thermostat on the pump and remove the thermostat.
|
| |
|
|
|
|
| Step 19: | Remove Water Pump |
| |
With the thermostat removed, the water pump can now fit under the metal pipe running in front of the engine.
The water pump will have to slide under the metal pipe in front of the engine. It will fit if you turn the water pump and slide it down under that pipe and out.
|
| |
|
|
|
|
| Repair |
|
|
|
| Step 20: | Clean off old Gasket |
| |
Use a razor blade carefully to scrape off the old gasket.
Be careful not to damage the mounting surface.
Be sure to get all of the old gasket off, especially around the 2 bolt sleeves that protrude from the flat mounting surface.
|
| |
|
|
|
|
| Step 21: | Inspect all hoses |
| |
Inspect the O-Rings inside of all hoses and replace if they are cracked or loose fitting or look worn.
Inspect all hoses and replace if they feel too soft or too hard, have cracks or bulges or anything irregular with them
|
|
|
|
| Step 22: | Inspect the drive belts |
| |
Inspect the belts to make sure they have no rips, tears, or cracks on the outside of the belt. Replace if they do.
Inspect the inside of the belts. They will have cracks as normal wear but if they are excessive or old, replace the belts.
|
|
|
|
| Reassembly |
|
|
|
| Step 23: | Close the engine block coolant drain bolt |
| |
Use a 13mm socket and a series of extensions to close the the engine block coolant bolt.
Again, the best angle to reach this is from above the drive shaft and it is difficult to see inbetween all the parts.
Torque to 25 Nm or 18 ft-lbs.
|
| |
|
|
|
|
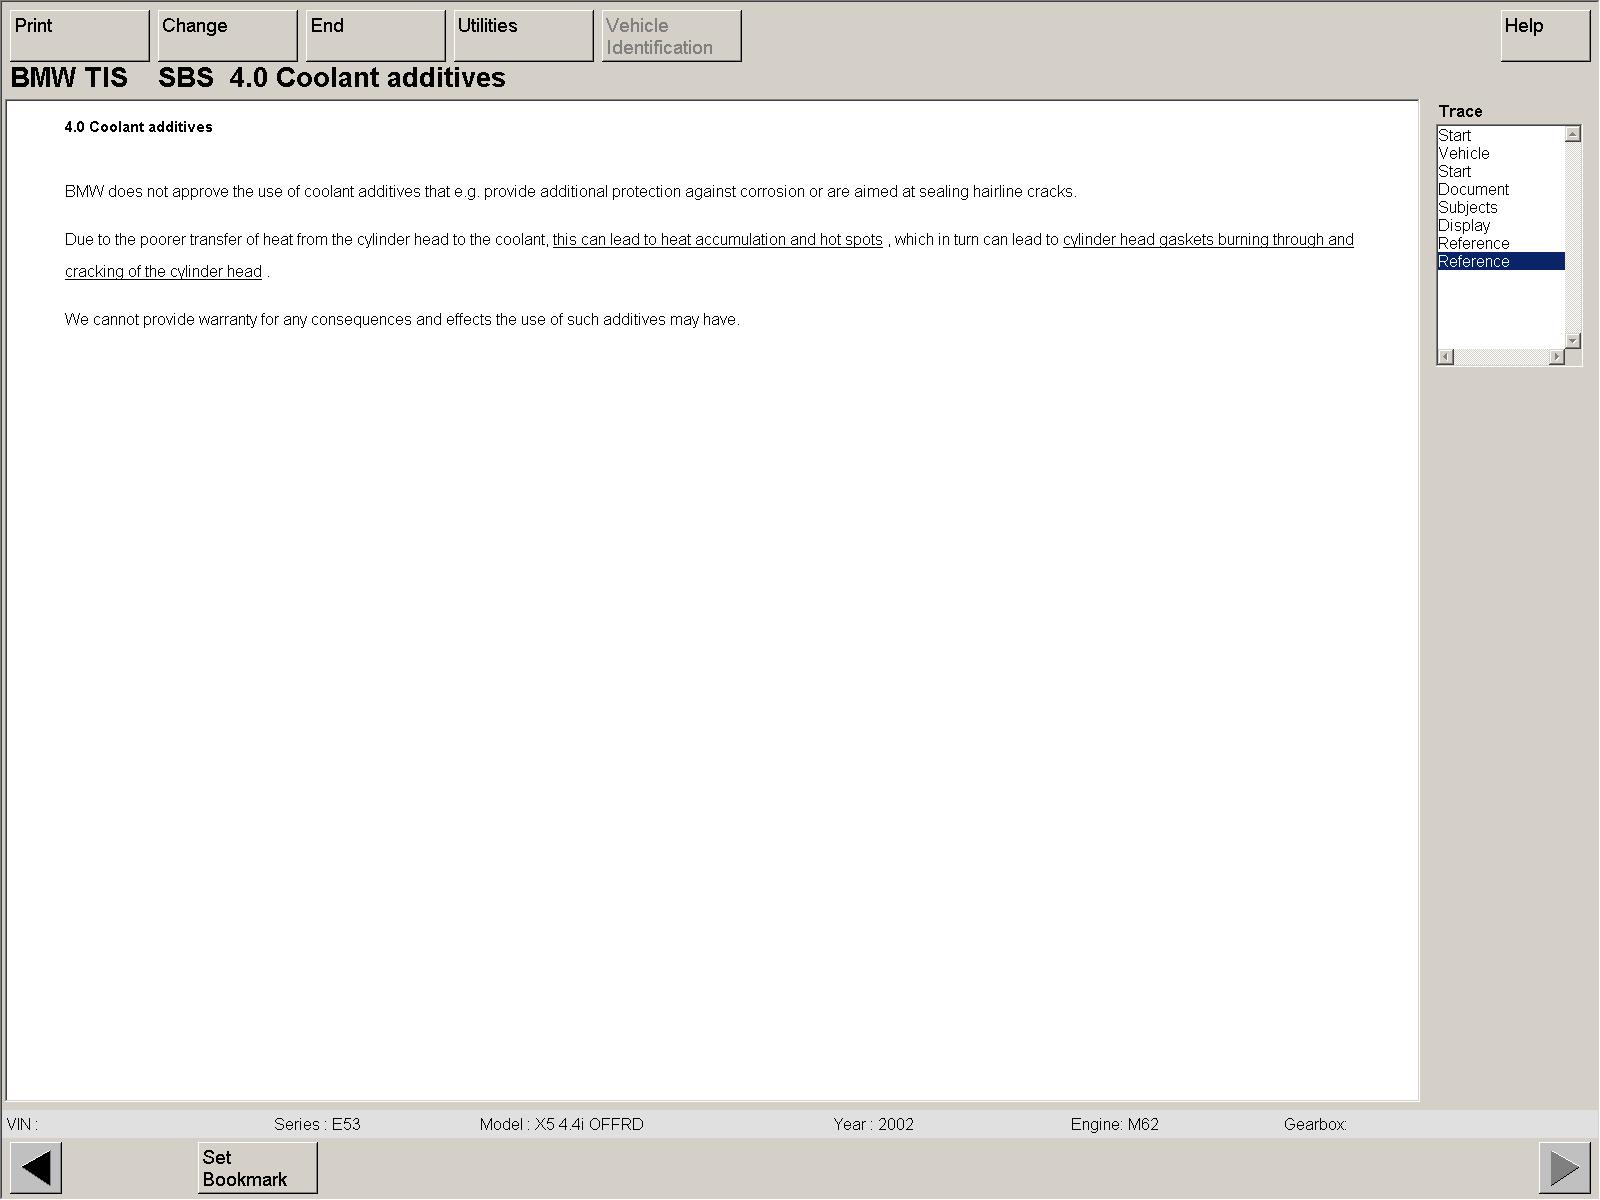
| Step 24: | Close the Radiator Drain Plug |
| |
Use the 10mm socket or phillips head screw driver to tighten the radiator drain plug.
This is a plastic screw so be careful not to overtighten or strip it. Just snug is fine here.
|
| |
|
|
|
|
| Step 25: | Install O-Rings in Water Pump and Place Water Pump |
| |
Wipe your finger in some coolant and lubricate the new O-Rings.
Insert the O-Rings into the water pump
Slide the new water pump under the metal pipe in front of the engine and get it into place
|
| |
|
|
|
|
| Step 26: | Install Thermostat on Water Pump |
| |
Wipe your finger in some more coolant and lubricate the O-Ring on the thermostat
Orient the thermostat so that the sensor connector points up
Use the 10mm socket with extensions to install the 4 bolts on the thermostat to the waterpump.
Final torque these bolts to 10Nm or 7 ft-lbs. Do NOT over tighten. My torque wrench doesn't get this low nor do I trust it at extreme values.
If you do not trust your low range torque wrench, just snug up the bolts till it takes effort to turn and give it another 1/2 turn should be about right.
|
| |
|
|
|
|
| Step 27: | Install Water Pump Gasket and Bolt in the Water Pump |
| |
Ensure that the mounting surface is dry and clean first.
Slide the gasket in place first. If you are using the green one with the black strip of sealant on one side, make sure the black strip faces the water pump.
Slide in the 2 long bolts into the water pump and into the gasket screw holes then to the engine block loosely.
The 2 lone bolts go where the bolt sleeves come out of the mounting surface.
Slide in the other 4 short bolts into the water pump and into the gasket screw holes to make sure the gasket is lined up correctly.
This takes some balance and fanagling as you are working in very tight spaces and trying to keep the 2 metal witer pipes in place while putting the gasket in between the mounting surface and the waterpump without damaging it. Do not try to final seat the metal pipes in the water pump. Tightening down the bolts will do that for you.
Once you are sure the gasket is in place correctly and all the bolts are in place and the 2 metal water pipes lightly seated in place, finger thread the short bolts in.
Use a 10mm socket with short extension to snug up the bolts.
Final torque to 22 Nm or 16 ft-lbs. DO NOT OVERTIGHTEN. These bolts are aluminum with a plastic core and will snap if over tigthened. If you do not trust your low range torque wrench, just snug up the bolts till it takes effort to turn and give it another 1/2 turn should be about right.
|
| |
 |
Sorry for not taking more pictures here. Camera ran out of batteries. |
|
|
|
|
| Step 28: | Reconnect the Thermostat Wiring Connector and Install the Water Tempurature Sensor |
| |
Push in the wiring connector to the thermostat and make sure it is fully seated with the retaining clip clicking in place.
Use the 22mm wrench to install the water temperature sensor on top of the water pump. DO NOT OVERTIGHTEN. just snug and 1/2 turn more will do it.
TIS had a different type bolt in connector and called for 20 Nm or 15 ft-lbs of torque. Obviously, I couldn't do that with this type of sensor.
|
| |
|
|
|
|
| Step 29: | Install Harmonic Balance/Main Crank Pulley |
| |
The crank mounting surface has an alignment pin that matches an small alignment hole on the crank pulley.
Place the crank pulley in place and there should be no wiggle on it at all.
finger thread the 8 T45 bolts in place and snug up with a rachet.
There are 3 tightening steps for this procedure to allow for proper bolt stretch.
TIS also calls for new T45 Torx Bolts. I reused mine.
1st: Torque all bolts to 100 Nm or 74 ft-lbs.
2nd: Re-torque all bolts to 100 Nm + 60 degrees more pass the click on th wrench
3rd: Finally re-torque all bolts to 100 Nm + 30 grees more pass the click on the wrench
|
| |
|
|
|
|
| Step 30: | Install the Fan Pulley |
| |
Place the pulley on the water pump and thread in the 4 10mm bolts.
Use a 10mm socket and snug up the bolts
Final torque to 22 Nm or 16 ft-lbs while using a small flat blade screw driver to stop the pulley from spinning.
TIS did not have a torque setting for this although the TIS instructions had a call out for it. However, it felt like the same as the water pump bolts to me when I was removing it.
|
| |
|
|
|
|
| Step 31: | Install Drive Belts |
| |
Install the AC belt first as it goes further inside the main crank pulley.
If you are re-using belts, follow the arrow marking you made earlier.
Use a 17mm socket or wrench to turn the big nut on the hydraulic tensioner to tighten in place and use a 13mm socket to tighten the far adjustment bolt.
Notice that in my picture the adjuster is turned all the way to its maximum. I turned it back to its maximum just like it was originally.
Then use the 13mm socket to tighten the smaller bolt on top of that 17mm nut we just used to turn the tensioner.
Make sure you have a max of 1' of deflection when pushing on the belt.
Final torque lock bolts to 30 Nm or 22 ft-lbs.
Thread in the serpentine belt per the diagram.
Use the 17mm socket to turn the tensioner nut to tighten up the belt and then use a 13mm socket to tighten the far adjustment bolt to hold it in place.
Then use the 13mm socket to tighten the smaller bolt on top of that 17mm nut we just used to turn the tensioner.
Make sure you have a max of 1' of deflection when pushing on the belt.
Final torque lock bolts to 30 Nm or 22 ft-lbs.
|
| |
|
|
|
|
| Step 32: | Connect Lower Hoses |
| |
Wipe your finger on some coolant and lubricate the O-Rings inside the hose connectors.
Connect the smaller lower hose to the bottom of the water pump.
Slide it in the hose clip so it correctly holds the hose in place without binding.
Make sure the retaining clip is in place and it clicks in once fully seated.
Connect the larger hose to the thermostat and ensure the retaining clip clicks in place once fully seated.
This was also very difficult for me and i had to use a flat blade screw driver and a mallet to gently nudge it in place.
Sorry no new pictures here. Camera ran out of batteries, but its simple enough.
|
| |
|
|
|
|
| Step 33: | Install Upper Radiator Hose |
| |
Wipe your finger on some coolant and lubricate the O-Rings inside the hose connectors.
Connect the long small hose to the lower radiator valve and ensure it clicks in place.
Use a 5mm hex socket or allen wrench and install the retaining clip on the water pump.
Clip in the long small hose into this clip.
Connect the alternator hose to the alternator cooling inlet and ensure it clicks in place.
Connect the large hose to the water pump and ensure the plastic alignment pin goes in the hole.
I also had to tap this all the way in with a flat blade screw driver and a mallet very gently to fully seat it.
Connect the other end of the large hose to the top of the radiator.
Sorry no new pictures here. Camera ran out of batteries, but its simple enough.
|
| |
|
|
|
|
| Step 34: | Install the Fan and Fan Shroud |
| |
Slide both the fan and the fan shroud in place at the same time.
The fan shrould will slide into plastic retaining tabs
Thread the fan on COUNTER CLOCKWISE. I just spin the fan on the threads until it catches and it spins till fully seated.
Use a small flat blade screw driver to keep the pulley from spinning and use a 32mm wrench to tighten the fan clutch nut.
Just snug it up and try to give it a 1/4 turn to 1/2 turn more. since the engine will spin the fan against the thread, it will tighten it more as it spins on its own naturally.
TIS calls for 40 Nm or 30 ft-lbs on the fan clutch nut. I don't have a torque wrench that uses an open wrench head.
Insert the 3 fan shroud retaining push pins to keep the fan shroud in place. (you can use small zip ties if you broke your old push pins.
|
|
|
|
| Step 35: | Install the Radiator Cover and connect the Fan Shroud Wiring Connectors |
| |
Slide the plastic radiator cover in place. The radiator will have alot of play so just move it forward and slide the cover behind it.
Use a 10mm socket to tighten the 2 metal bolts on the far ends.
Use a 13mm socket to snug up the 2 plastic bolts into the plastic retainers in the radiator tray
Connect the wiring connector into the fan shroud
Clip back the wiring harness into the plastic clip on the fan shroud
|
| |
|
| Step 36: | Install the Expansion Tank |
| |
Wash out the expansion tank before putting it back in the car. You'd be surpise what is inside...
Connect the wiring sensor at the bottom of the expansion tank.
Seat the plastic pin leg on the bottom of the expansion tank into the rubber grommet.
Use a 10mm socket to fasten the 2 bolts and secure the expansion tank.
Wipe your finger on some coolant and lubricate the O-Rings inside the hoses.
Reconnect the bottom return hose to the bottom of the expansion tank ensuring it clicks in place.
Reconnect the rear hose to the side of the expansion tank ensuring it clicks in place.
Reconnect the expansion return hose to the upper radiator hose (if yours is intact or a new one).
|
| |
|
| |
Since I broke the hard plastic line, I repaired mine using bulk vacuum 1/4' ID hose. It's thich and heat approved.
There are copper inserts inside the original hose that connects the hard plastic line to the larger rubber hose.
I pulled the compression bands off and extracted those copper inserts.
I put the copper inserts into my clear hose and then the clear hose into the original larger rubber hose.
I then use screw type compression bands to keep it water tight.
Originally I used clear bulk hose like in 2 of the pictures and it held up fine for a few days during short trips.
Once I put on a real commute, it heated up and melted a hole in the clear tube. Fortunately the melt happend 1/2 block from
home. I then ran off to the auto parts store and spent about 1 dollar for 2 feet of the black thicker vacuum hose and it's
been perfect since then.
I only use the pictures of the clear hose to show how the inserts should fit as well as where the compression band clamps go.
I do not advise you to use the clear hose, get either the BMW replacement hose for about $25 or get the black vacuum 1/4' ID hose with compression clamps.
|
| |
|
|
|
|
| Step 37: | Install the Flex Tubing |
| |
Reconnect the flex tube to the intake manifold.
Reconnect the 2 air lines into the bottom of the flex tube.
If you remember, I had some dry rot on the smaller rubber vacuum hose. I just cut off the dry rot and reconnected the hose fine. You may need to get some extra hose to repair yours if you have a worst situation.
Tighten the compression band to secure the flex tube to the instake manifold.
|
| |
|
|
|
|
| Step 38: | Install the Air Box and Connect the MAF |
| |
Clean out the air box and air filter.
Insert the lower half into the car and secure it with the 10mm bolt. Just hand tight is fine.
Reconnect the lower secondary air hose.
Install the air filter with flat face up and the fins dangling down
Connect the upper half of the air box to the MAF and Flex Tube.
Tigthen the compression band to secure the MAF to the upper half of the air box.
Secure the upper half of the air box onto the lower half by using the 4 clips
Reconnect the MAF wiring connector
|
| |
|
|
|
|
| Step 39: | Install the Intake Vent |
| |
Snap on the intake vent into the lower air box hose until the snap tabs are in place.
Install the intake vent into the plastic radiator cover.
Install the 4 push pin retainers to secure the intake vent.
|
| |
|
|
|
|
| Step 40: | Install the Engine Cover |
| |
Slide the engine cover back in place
Turn the 5mm screws to lock the cover back in place. They only do a quarter turn to lock or unlock.
|
| |
|
|
|
|
| Step 41: | Mix the Coolant and Distilled Water |
| |
Use the extra clean 1 gallon bottle and pour half of the distilled water into it.
Pour half the coolant into the bottle of half distilled water.
Close the cap and shake to mix.
Pour the other half of the distilled water from the extra container into the coolant bottle.
Close the cap and shake to mix.
|
| |
| Sorry, no pictures. Camera ran out of batteries, but this is simply mixing coolant. |
|
|
|
|
| Step 42: | Fill the Expansion Tank with Coolant |
| |
There is a plastic phillips style bleed screw on top of the expansion tank. Remove that with a flat or phillips screw driver.
Use a funnel over the expansion tank and slowly fill with the mixed coolant.
Continue until coolant emerges from bleed screw hole. It will bubble up as you do this.
When the bleeder hole is full with no air bubbles in between, close the bleed screw. Hand tight on the screw only, its plastic.
|
| |
|
| Step 43: | Bleed the system |
| |
Switch the ignition to position II (On but do not start engine)
Set temp controls to 90 degrees F (as hot as it can get)
Turn the fan to low to start
Fill expansion tank slowly with more mixed coolant and top it off.
Once you have enough fluid, you will notice there is a small electric pump inside the expansion tank that pumps coolant back into the large cap opening from somewhere near the bleed screw area.
Let it continue to run for a few minutes till you don't see any more air bubbles in the cap opening.
Turn on the motor and turn the heater to 90 and the fan to max.
You may need to add coolant as the water pump is now moving water throughout the engine.
I waited about 10 minutes letting it run on idle and filling with coolant as neccessary.
After 10 minutes, I pressed the accelerator and raised the RPM's to 1000-1500 in short 30 second bursts.
This caused some bubbles to come to to top and you can see it in the expansion tank.
After about 5 minutes of running at a higher RPM, the bubbles were all gone.
Finally put the cap back on and close.
Shutdown the motor and clean up the spilled coolant from the fill/bleeding process.
I ended up filling with 3 gallons of mixed coolant.
|
| |
|
|
|
|
| Step 44: | Lower the car and Check for leaks |
| |
Before you lower the car, look underneed to check for leaks from anywhere.
If all checks out, go ahead and reinstall the front plastic under tray.
The tabs are outside of the tray and exposed.
The 2 pointed metal 10mm bolts go in the center back near the center jack point.
The 5 silver 10mm bolts go in the front
The 4 small washer black 8mm bolts go under the car, 2 on each of the far sides.
The 4 large washer black 8mm bolts go in the front tabs.
Lower the car and clean up.
|
| |
|
|
|
|
| Step 45: | Dispose of old coolant |
| |
Use a funnel and fill the empty bottles with old coolant
Take the old coolant to a proper place to dispose of it. Your local auto supplies shop should take it or be able to direct you were to dispose of the old coolant.
|
|
|
|